Showing posts with label Terrain. Show all posts

Tuesday, 29 January 2019

Cancon Trip 2019

Not much in the way of hobby the last week or so, but the wife, Arwen and myself headed down to Canberra for CanCon 2019 over the weekend. Jen and I have been using it as a yearly holiday for ourselves but this year took down the youngest to see what she thought of it.

As usual we detoured over to the Australian War Memorial, but this year we added the National Museum and checked out the Rome City and Empire exhibit currently on loan out there. I have to say it was an exceptional display.


CanCon itself was great and I snapped a few photos here and there of some of the nicer table layouts.


I've got a few things on the go at the moment, ranging from my ongoing Tyranids to a mass of Zulus to be followed by some colonial British. So hopefully I'll have something more hobby or game related to post up soon.

Tuesday, 11 October 2016

11th October - Rock Terrain Project

I saw the how to for these particular rocks on the Beasts of War site in a Hobby Lab bit and I've been meaning to have a go at them ever since. I felt like a bit of a palette cleanse from the Abyssal Half-breeds (although they're not too far from finished, depending on how I go might even get them done this week) so I grabbed the sponges and got cracking.

The first step which I didn't think to take a quick photo of was to super glue them down to some MDF bases I'd picked up from Miniature Scenery CNC Workshop. Then I shaped them with a mix of cutting and tearing to get some uneven lines and then a liberal coating of a cheap black acrylic mixed 50/50 with water so it could soak into the sponge. Then I grabbed a spray tin of Tamiya Grey Violet and gave it a good coating.


Then I gave them all a fairly heavy dry brush with Army Painter Ash Grey.


Followed by a lighter dry brush with Vallejo Model Color Stone Grey.


Then I used a mix a dry brushing on some of the overhangs and dabbing in some of the crevasses with Vallejo Model Colour Yellow Green.


The next step was to give the bases a coat with Army Painter Oak Brown and the edges a quick run over with Vallejo Model Colour Flat Green.


The final couple of steps were to give the bases a coat of watered down PVA and get some static grass down and then a little bit of flock spot glued here and there. I've still got to give them a final seal to give them a bit of durability but I really wanted to get them on a table to see what they looked like.


I was supposed to be getting that rescheduled game of Frostgrave in with Toby tonight but he had a few things come up so Arwen and I are planning to make use of the table tomorrow afternoon for another game ourselves. I've added a few more bits of pieces to the table since I took the photo and I've come up with a bit of a scenario so hopefully we get the game in with out too much hassle.

I'm planning to do another set soon but using a lighter shade of grey for the spray coat for a bit of variety. I've also begun to glue my remaining Guildball teams and players together (you can see them in the background of one of the photos), Arwen finally decided on which team she wants to begin with (Brewers) and testing a theory on saving shelf space and making it easier to knock down my painting backlog.

Monday, 6 April 2015

6th April - Facebook Across the Dead Earth Base Camp Entry


Finished off my entry for the Facebook competition for Across the Dead Earth. The theme was a base camp with a size limit of CD size and up. I opt'd for an and up sized entry. I'm planning to use it as main objective in campaign games where one player will be attempting to drive off the other in order to take control of an area of the map, or just as a nice centre piece for one off games.


Next month brings on a painting competition with both a single figure and gang category. I'll be starting both my Sisters of Acquisition and Engineers and making a decision on which one to enter at the end.

Tuesday, 24 March 2015

24th March - Finished Scourge Starter Box

Finished off my Scourge starter box a couple of days ago. I'm leaning toward a gloss or semi-gloss varnish so they're not quite officially finished, but they're done enough to serve the purpose of a blog post.

Scourge Skirmish Size Box Set Army

I've kept my colour scheme fairly simple but I feel it's come up rather nicely. It's just a base coat of Vallejo model colour copper, followed by a very dry dry-brush of Army painter silver then a solid coat of the same silver on a few raised areas. The vents I pre-shaded with a thin wash of Vallejo Black-grey and finished it off with a wash of Games Workshop Nuln Oil.

Hunter Tanks
Reaper Anti-Air Tank


Scourge Warriors


Invader APC
Marauder Medium Dropship


I've also got a bit of progress done on my terrain entry for the Across the Dead Earth Facebook competition, but my clippers broke earlier this week so I'm just waiting on a new set to finish off a few more bits and pieces.


After the Bolt Action game with Toby the other day I've had another play with an army list. So I've begun to work on the Panzer IV H and a 250/1 half-track that have been sitting on the shelf for the last few months. So I should hopefully knock them over in the next couple of days in between shifts at work. I've order some more drill bits and magnets so I can magnetise the  Schurzen depending on the fit out of the particular game. It's also my first go at camo with the air brush, I think I'm starting to get the hang of it now.

Tuesday, 3 March 2015

3rd March - Ruined Modern Buildings

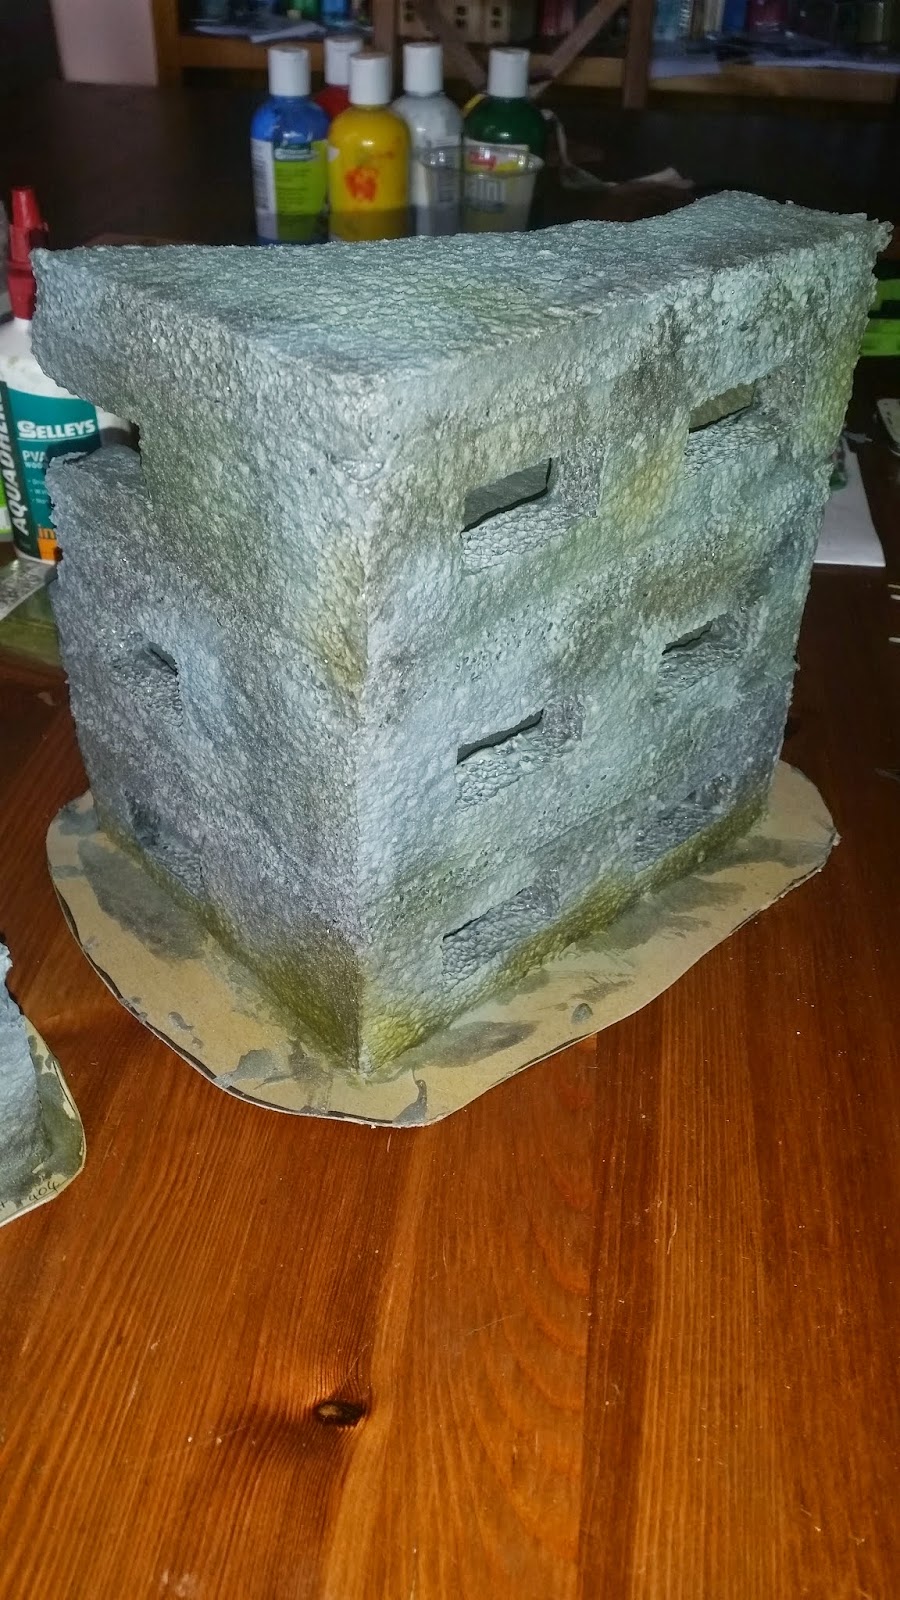
One of my mates works in the warehouse for a computer parts supplier and he bought home some packing foam for me to have a play with. Seeing as I'd been playing a fair amount of Across the Dead Earth lately I decided to get some ruined buildings knocked together as I'm lacking in the terrain department as it is and I can't keep the borrowed bits and pieces from The Uncle forever.

All the foam has been glued together with a hot glue gun. The concrete render was made with a mix of equal quantities of PVA and Polyfill, 1/2 quantity of sand, a squeeze of black paint and a little water to get it to the texture I wanted. Once that was dried I gave it all a going over with a concrete paint and wash via an air brush, and the same with the weathering and rust run offs. The rusted rebar is just gardening wire painted with the same rust. Then the whole lot was finished off with various basing materials.

I'm pretty happy with how they finished up and I'm currently working on a slightly larger compound for the themed competition with the Across the Dead Earth Facebook group.